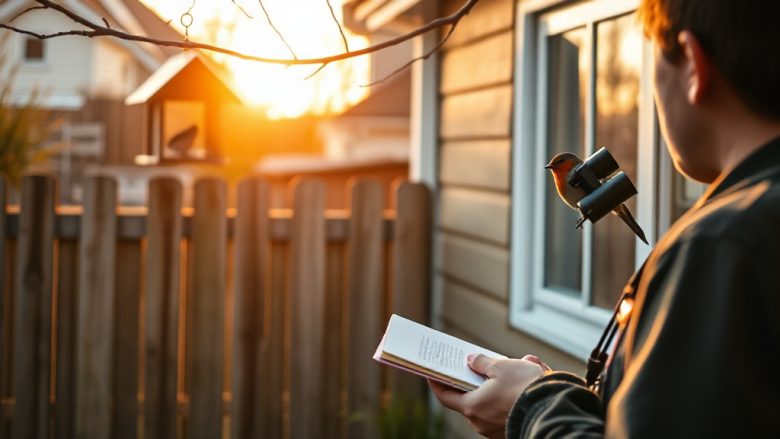
You do not need binoculars to start birdwatching. This beginner guide to birdwatching covers the three things worth carrying and how to tell ten common birds apart. That is it. No expensive optics, no field guide the size of a brick, no early-morning drive to a nature reserve. Your first session can happen on a Tuesday lunch break, standing still in a park or your own back garden, watching whatever lands on the fence.
Most people who try birdwatching and quit do so because they bought too much gear before they had learned to look. The hobby rewards patience and attention far more than equipment. A pair of decent binoculars helps eventually, but the skill you are actually building is the ability to notice shape, movement and behaviour. That skill costs nothing.
Gear: The Three Things Actually Worth Carrying
Birdwatching has a reputation for expensive kit, and the optics industry is happy to encourage it. Ignore that for now. Until you can reliably tell a blue tit from a great tit at twenty paces, a thousand-pound pair of binoculars will not make you a better birder. It will just make your mistakes more magnified.
The first thing worth carrying is a notebook and a pen, or the notes app on your phone if you prefer. This sounds almost too simple to bother with, but writing down what you saw forces you to look properly. “Small brown bird in the hedge” is a useless note. “Small brown bird, dark cap, pale belly, hopping along the ground under the feeder, flicked its tail” is a note you can actually identify later. The act of describing fixes details in your memory that you would otherwise lose within minutes.
The second is a compact pair of binoculars, ideally 8×42. The first number is magnification, the second is the diameter of the front lens in millimetres. Eight times magnification is the sweet spot for beginners: enough reach to see feather detail on a bird thirty metres away, wide enough a field of view that you can actually find the bird once you raise them to your eyes. Higher magnification sounds better but shakes more in your hands and narrows your view, which makes locating a moving bird genuinely frustrating. Cheap 8×42 binoculars are fine. Borrow a pair before you buy.
The third thing is a way to identify what you have seen. A pocket-sized guide to garden and park birds is more useful than a comprehensive field guide for the whole country, because it contains fewer options and therefore fewer ways to get confused. Many people now use a phone app instead, which is fine, though scrolling through a screen while a bird sits in front of you is a good way to miss it. Whatever you choose, keep it small enough to carry without thinking about it.
That is the whole kit. A notebook, a borrowed pair of binoculars and one small identification guide. Everything else, from tripods to spotting scopes to thermal cameras, is something you can consider in a year or two if the hobby sticks.
Identification Basics: Ten Common Birds by Shape and Behaviour
Beginners tend to identify birds by colour, which is the least reliable method available. Light changes colour. Juveniles are duller than adults. A bird in shade can look almost black. Experienced birders identify by shape, size, posture and movement first, then use colour as confirmation. Learn the ten birds below this way and you will have covered the vast majority of what visits a British garden or suburban park.
The robin is the easiest starting point. Round body, thin black legs, upright posture, and a habit of sitting still and staring at you while you dig. It is often the first bird to investigate disturbed ground. The red breast is useful, but the shape gives it away even in silhouette: a plump, almost spherical body on spindly legs.
The blue tit is small, acrobatic and rarely still. Watch for a bird hanging upside down from a feeder or a branch tip, which almost nothing else in a garden does with such regularity. The great tit is noticeably larger, with a black head and white cheeks, and it tends to feed more upright and more aggressively, often shouldering smaller birds aside. If a bird at your feeder is bossing everyone around and has a black cap, it is probably a great tit.
The house sparrow is a chunky, sociable brown bird that arrives in noisy groups, usually hopping on the ground rather than clinging to feeders. The dunnock looks similar at a glance but is slimmer, greyer, and behaves completely differently: it shuffles along the ground under bushes with a nervous, creeping motion, flicking its wings. Behaviour separates these two far more reliably than plumage.
The blackbird is a thrush, larger than a sparrow, with a long tail and a distinctive hopping run across lawns, pausing to cock its head at the ground. Males are black with an orange bill and eye-ring; females are brown with a paler throat. Both have the same shape and the same ground-feeding habit. Listen for the low, mellow song at dusk.
The woodpigeon is unmistakable once you notice its size. It is a big, heavy bird with a small head, and it launches into the air with a loud clatter of wings. The collared dove is slimmer, paler and more elegant, with a thin black band on the back of its neck. Both walk rather than hop, which is a useful distinction from most garden birds.
The starling is stocky and short-tailed, with a sharp pointed bill and a walk rather than a hop. In summer it looks glossy and speckled; in winter it is covered in pale spots. It is loud, aggressive at feeders and often arrives in a crowd. The magpie needs no introduction: black and white, long tail, confident strut, and a harsh chattering call you will hear before you see the bird.
The goldfinch is the one to learn for its flight. It is a small, slim finch with a red face and a gold bar on the wing, and it flies with a deeply bouncing, undulating pattern, dipping and rising as if on a rollercoaster. Once you can recognise that flight, you will spot goldfinches overhead without needing a clear view of the colours.
Notice what you just read: almost none of it was about colour. Shape, posture, movement and where the bird was feeding did most of the work. That is the whole method.
A Twenty-Minute Practice Routine You Can Repeat Any Day
Twenty minutes is enough. Longer sessions are not better for beginners; they are just more tiring and more likely to end in frustration. Short, repeated sessions build the pattern recognition that makes birdwatching satisfying.
Spend the first two minutes standing completely still. This is the hardest part. Birds react to movement far more than to presence, and a person who stands still for two minutes will see three or four times as much as a person who walks continuously. Pick a spot with a hedge, a tree and some open ground in view, and just wait.
For the next ten minutes, watch one bird at a time. Not the whole flock, not the whole garden, one bird. Follow it until it leaves your view. Ask yourself three questions as you watch: how does it move, where is it feeding, and what shape is it? Do not worry about the name. If you can describe the bird accurately, you can look it up later. If you cannot describe it, a name is worthless anyway.
Use the final eight minutes to write down what you saw. Two or three birds is plenty. Note the date, the weather, the time of day and the location, because these details matter more than beginners expect. Birds have routines. The same species tends to appear in the same places at the same times, and after a week or two of notes you will start noticing patterns that no guidebook could tell you.
Repeat this routine three or four times a week. Within a month, you will recognise most of your local birds on sight, often before you have consciously registered what you are looking at. That moment, when a shape on a branch resolves into a species without effort, is when birdwatching stops being a task and becomes something you do automatically, the way you read a familiar face across a room.
So start this weekend. Take a notebook, borrow some binoculars if you can, and spend twenty minutes standing still somewhere with a bit of greenery. Write down the first bird you can describe properly, even if you have no idea what it is. That first logged sighting is the one you will remember, and it costs nothing but a little patience.